How To Print Your PDF Sewing Pattern

Before the thread meets the fabric, there's a crucial step: printing your pattern. In this blog post, we'll walk you through the process of printing your Sonia Estep Designs PDF sewing pattern. From selecting the right paper size to ensuring accurate scaling, we've got you covered every step of the way. 

Accessing and Viewing Your PDF Sewing Pattern

Although it would be awesome, unfortunately you can not print a PDF pattern accurately from a phone. You will need a computer to print your sewing pattern. Adobe Acrobat Reader is essential to printing you pattern, there are two options, one that requires a monthly subscription(Adobe Acrobat Pro DC) and a free one (Adobe Acrobat Reader DC). For printing your patterns, the free one will suffice. If you do not already have it installed on your computer, you can download Adobe Acrobat Reader DC here.

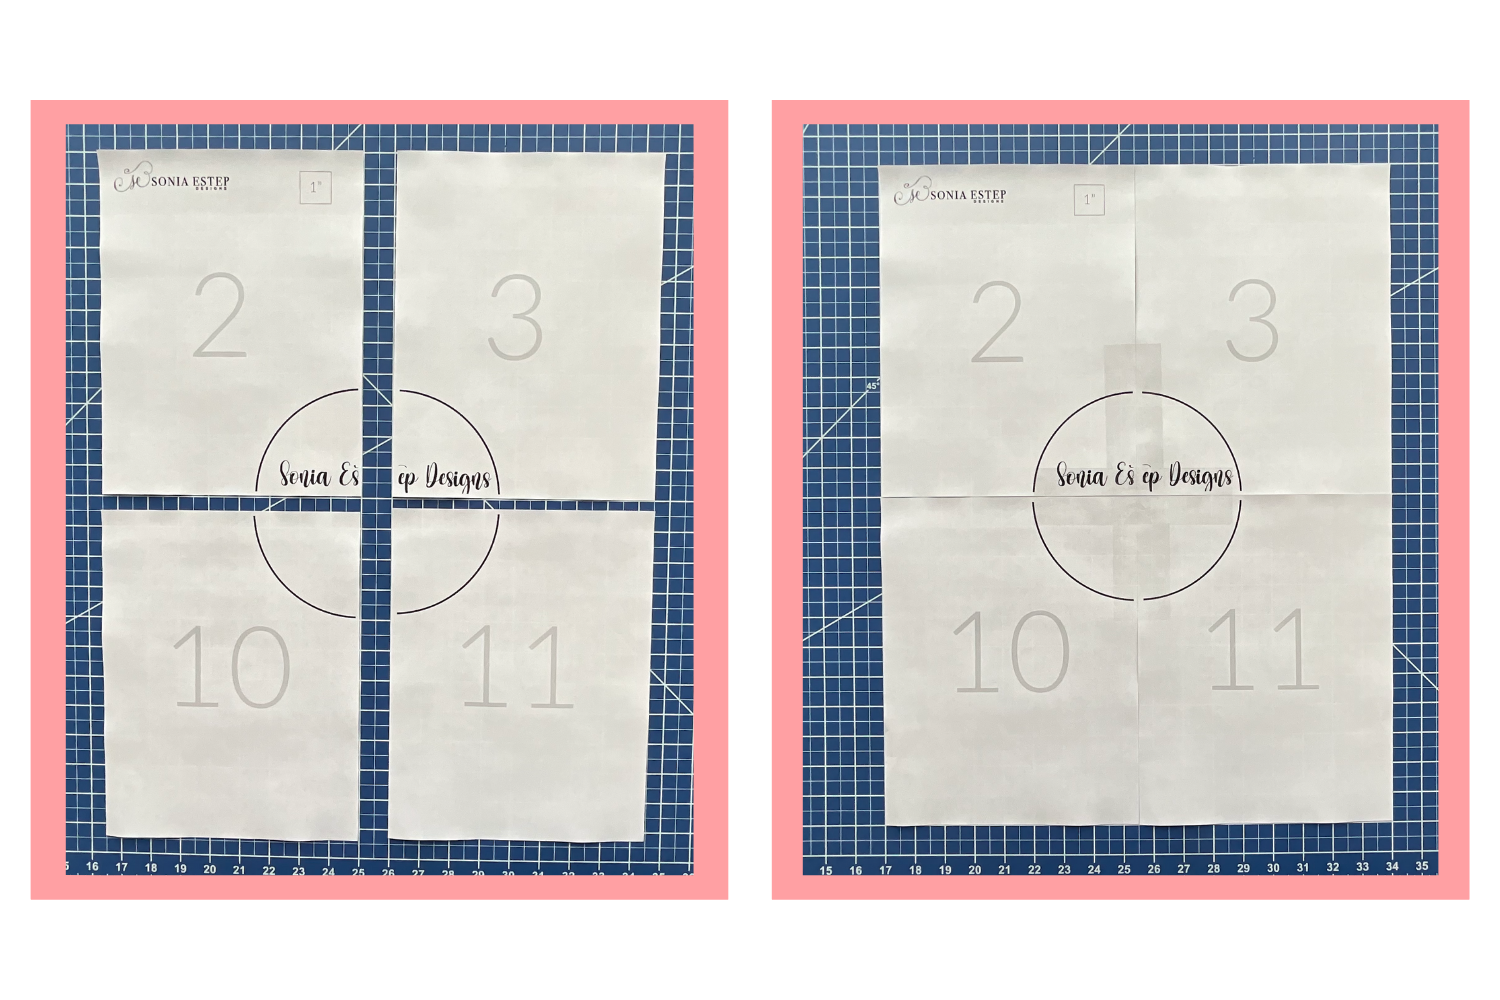
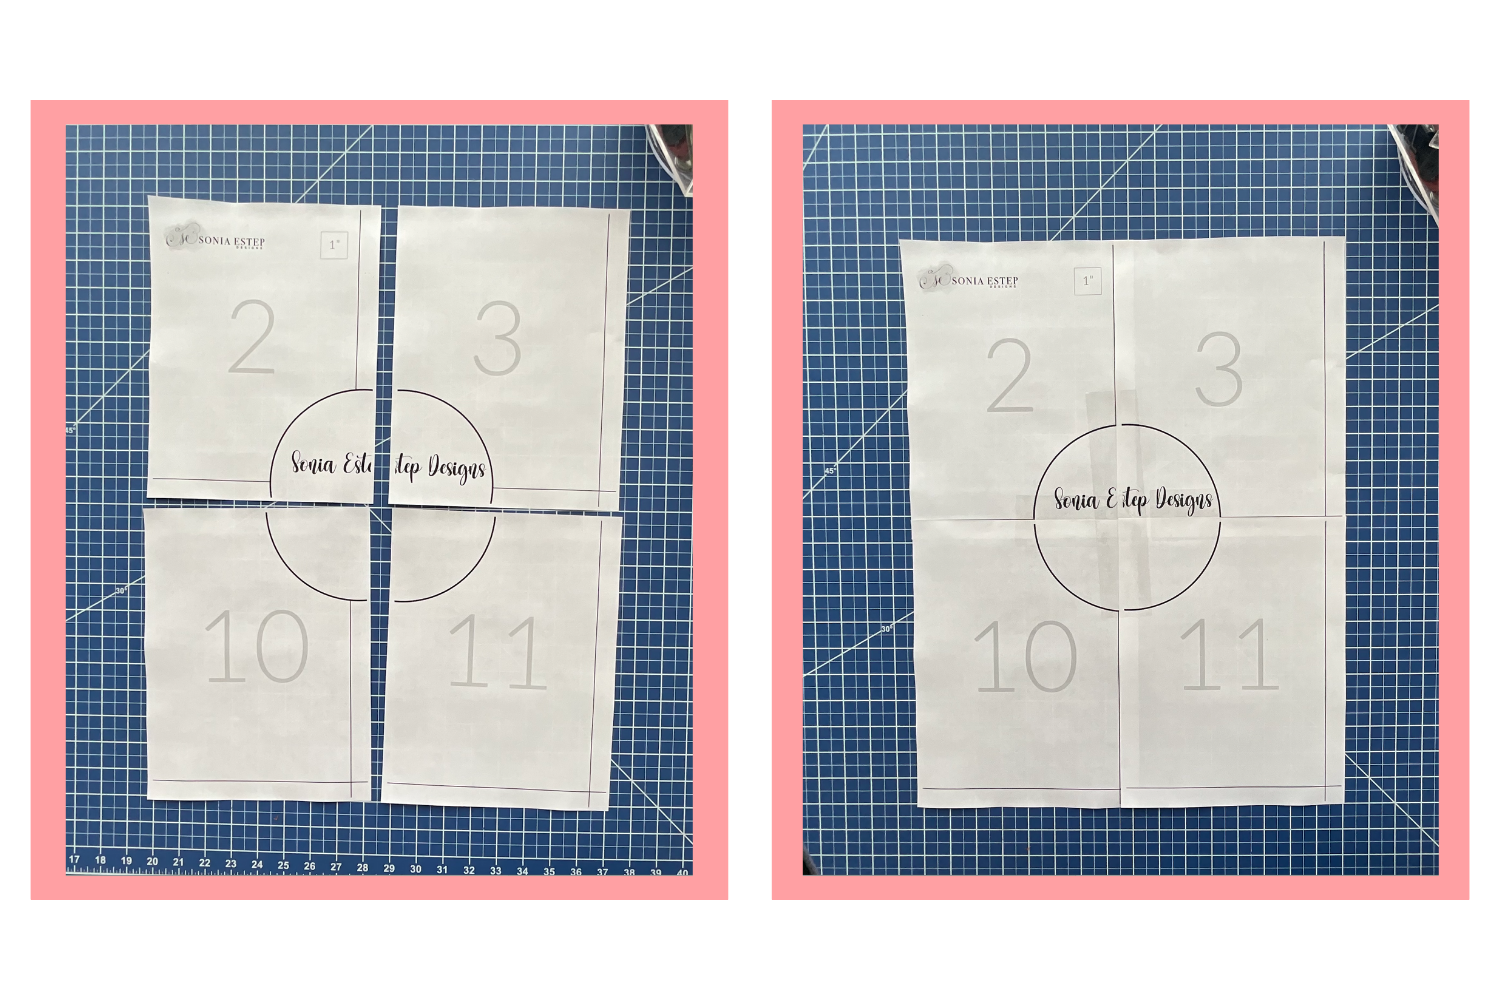
Choosing a Pattern Format

SED patterns come in multiple formats for printing at home on a standard printer, we offer Edge to Edge and Overlap. These trimless options provide a seamless printing experience on standard 8.5" x 11" or A4 paper.

The edge to edge format offers pattern pieces that align directly to the edges of each page. While the overlapping format offers overlapping pattern pieces. When working with either format, it's important to note that our printers don't typically print all the way to the edge of the paper, leaving some white space around every edge of the paper. Rest assured, this doesn't impact the pattern itself. As long as you verify the 1" square provided on every pattern, your pattern will print to scale. 


With our edge to edge format, you simply butt the edges of each page to each other. The first page of every pattern will have an assembly guide. Use this to determine the page assembly order.


With our overlap format, the pages will all overlap each other on every side of the paper. They each have a line that the next page in the assembly order will be aligned with. You will overlap them as shown in the illustration and use tape or glue to put them together. Just like our edge to edge format every pattern includes an assembly guide on the first page of the pattern. 


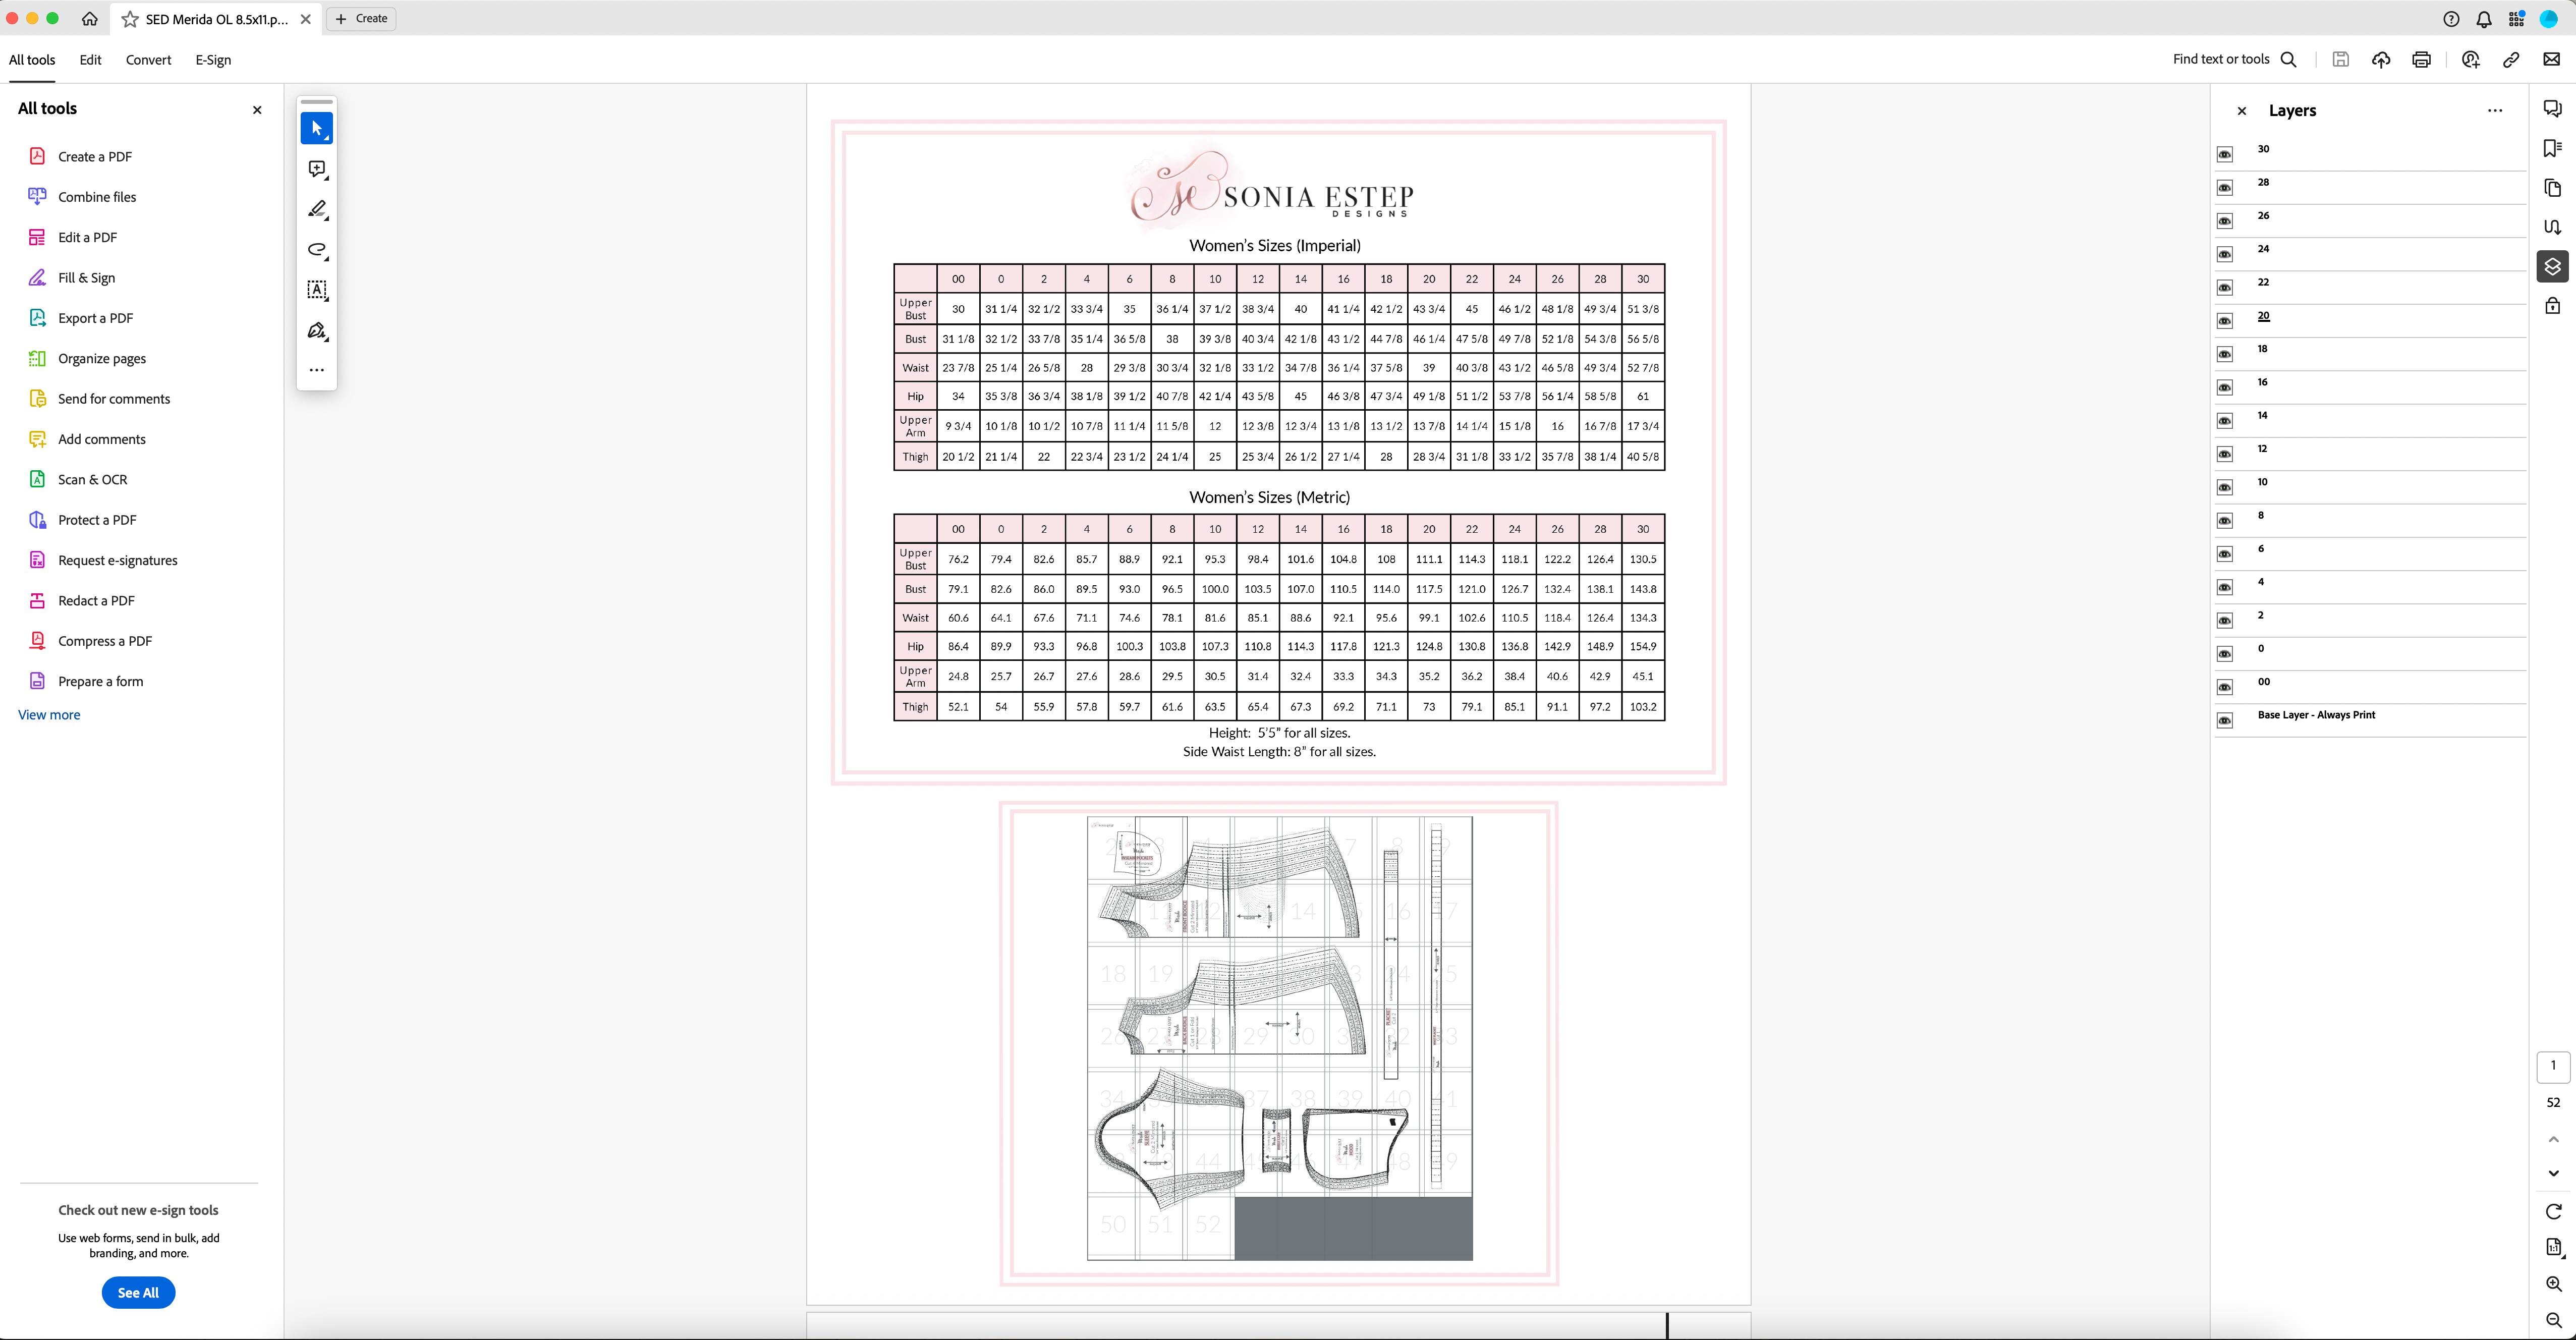
Utilizing Layers For Selecting Sizes
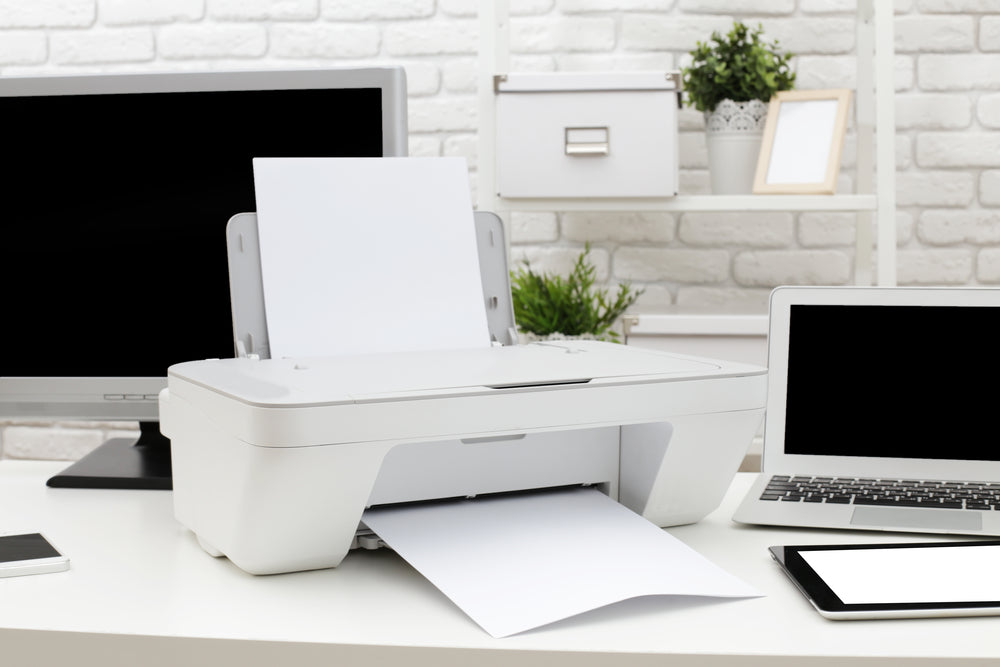
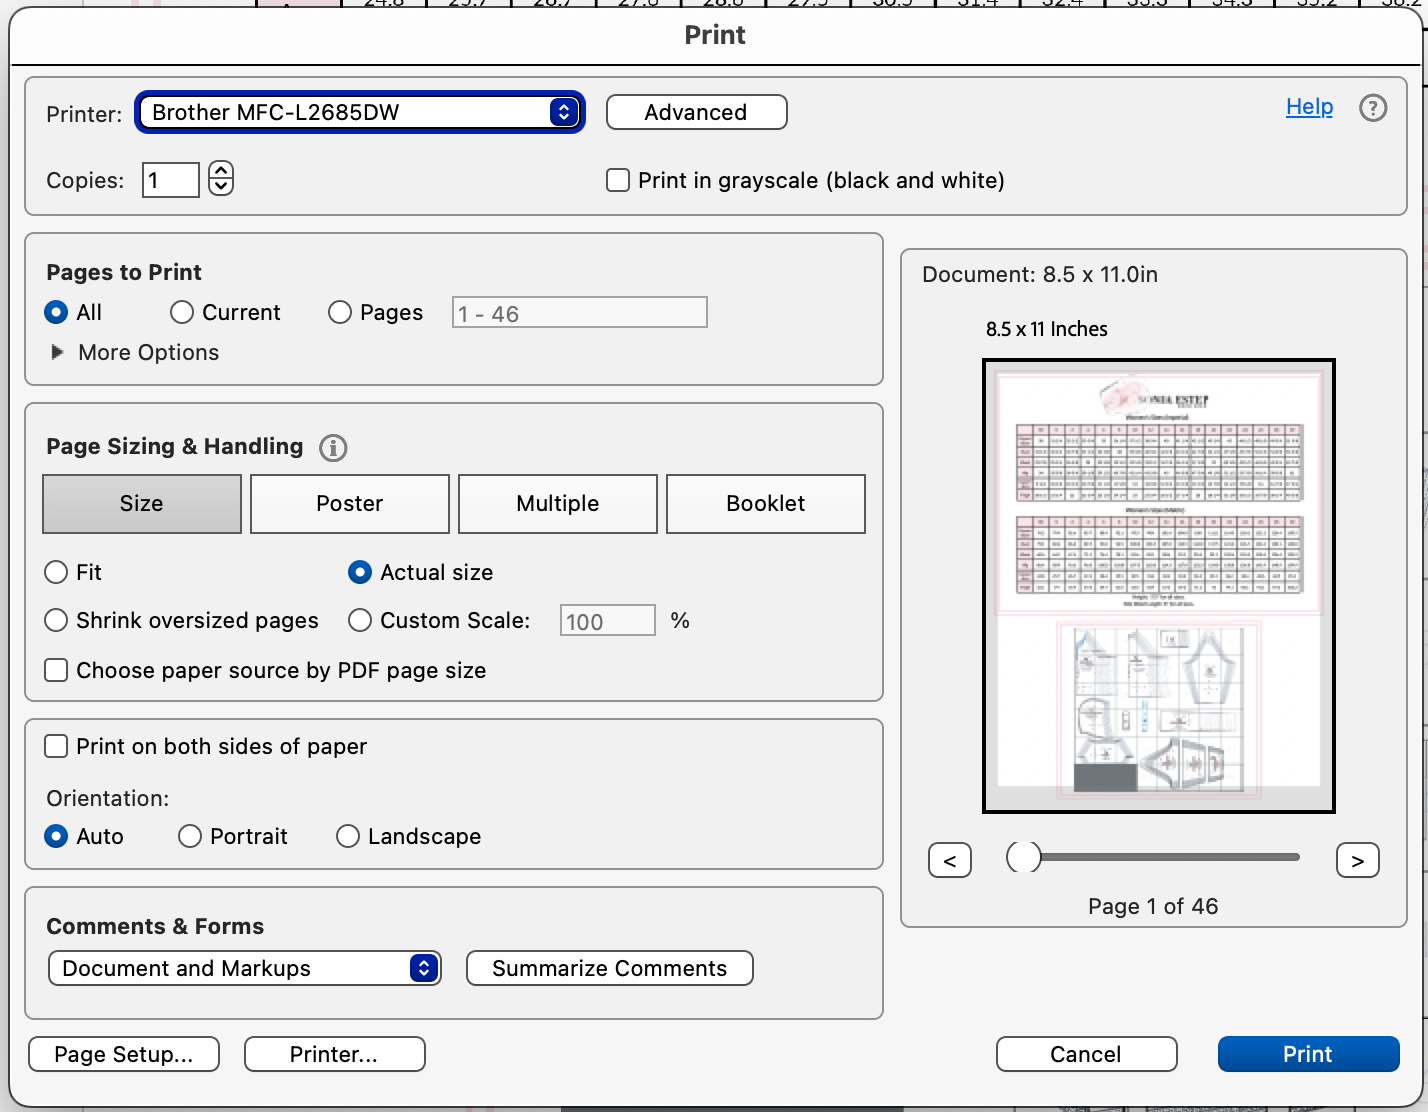
One of the key advantages of PDF Sewing Patterns is the ability to print only the sizes you need. This is made possible through the use of the layers menu. By opening the file in Adobe Acrobat Reader, you'll be able to select only the sizes you need to print. 

You can do this by clicking on the layers icon to the right of your screen, it looks like two sheets of paper stacked on top of each other. Then click the eye inside the box beside each size to deselect every size you don't need. The "Base Layer" menu should always be left on. This includes all of the pattern labels. 

Printer Settings

After you have only the sizes you want to print selected, it's time to print! Follow these steps:

1. Click on the file menu located at the top left of the Adobe window. 

2. Click "print".

3. When you open your print menu, you'll want to verify that the "actual size" option is selected in the Page Sizing & Handling menu. Then verify that the "auto" option is selected in the Orientation section. After you verify these two things, you're ready to print! But, don't print just yet. 


You want to verify that your pattern will in fact print to scale. You'll do this by only printing the page that includes the 1" verification square. For SED patterns, that is always page 2. 


After you have verified the accuracy of the 1" square, you're ready to print your entire pattern! 

If you want to see all of this on video, check out our YouTube video here

And just like that, you're ready to sew! If you need any extra help, please send us an email to help@soniaestepdesigns.com. We'll be happy to help you!